Showing posts with label Craft Demonstration. Show all posts

Monday, 20 May 2013

interactive painting commission

I'm currently working on a commission-long distance. To keep my client involved, I'm posting up-to-the-minute photos as I paint, so they can chip in with how they want the work to progress. Do join the journey...
simply click on the link below


www.portraitofapainting.blogspot.co.uk


the painting so far....3 hours in


Thursday, 16 May 2013

vintage bag makeover craft


Old bag gets makeover. Read all about it. No, this is not an over-60s style transformation. I'm talking about the type you keep your personal effects in. I think we've all got a bag that we love that just isn't quite cutting the mustard anymore. The great thing is bags have just as much potential for being souped up as jewellery! I found this fab off white real leather vintage bag in a charity shop yesterday. I paid £7.50, which felt like a lot for a second hand store, but there was something lovely about the saddle bag type shape. And the interlocking ccs on the front oval look like the Celine label, I think [alas, not Chanel, but less obvious is GOOD]. As nice as it was with its 'nothing' matching leather strap, which was half an inch wide, and flat, and had a dull silver buckle for adjustment purposes, I wanted something a big more glam.

Enter the copper coloured statement necklace I found at the same charity shop last week, for £2!

'out with the old' snip snip and the strap is off...

I snipped off the leather strap, used pliers to open the circular jump rings at the end of the necklace, and closed them over the  metal semi-circles that had attached the original strap to the bag. Et voila! Bag transformed. Please try this at home. Its amazing what a difference a new strap makes. Try old necklaces and belts and even silk scarves. Maybe I'll try using those ropes with the metal ends they use for posh queueing next.

Tuesday, 26 March 2013

tubes II- mini hat box demonstration


I have dusty eyebrows.

My sofa is a different colour. 

This evening I took a saw to one of the 'rescued' cardboard tubes. Its more elegant and comfy if you saw whilst lounging on a sofa. Riskier too, perhaps. No matter. I am all intact. And I've got a mini hatbox too. Its more rustic shabby chic than Park Avenue glamour at the moment, so I'm not sure whether it cuts the mustard in terms of luxury packaging, but I've got that charming little sense of achievement glow going on, beneath the dust, so its all good. 

Two sections sawed off,
one longer than the other,
will make up the main bit of the box
-one will go inside the other


I cut out a section so the longer tube
would fit inside the other section.

Like so

The plastic lid made a good template for the lid and base
[made from cereal boxes so I had to use several layers for strength]

I tapped on the base and sawed a thinner bit of tube for the lid
[box upside down in this shot]

Using PVA glue and brown envelopes,
I papier-mached the base to the cyclinder to strengthen it

Neatened with a circle cut from an envelope

And I repeated the process for the lid...

Yes, the edges a rough, but its a box!!

A lick of paint and its getting there.
 Need to glue the inner tube in place,
 line the box, and generally make it pretty...
 Its amazing what office waste can be made into with a bit of imagination and tlc. Still, its all quite rustic looking and I can't help but think of Brie.  I quite like the effect though, and the idea of hand making my packaging from scratch. It might take me longer to make the packaging than the jewellery though, so its probably not the best plan...perhaps I'll need to settle for customizing recycled shop bought boxes. 

Saturday, 12 January 2013

Pugs not drugs: The Doggy Bag


What do you do when the birthday present of your friend's/minion's dreams
 is a rather pricey T-shirt from Urban Outfitters?


You recreate it in black thread on a canvas bag, leaving the strands untrimmed for a punky look. Varying the number of threads definitely adds a bit more character, and she can take it walkies every time she goes shopping.

Monday, 7 January 2013

Salvaged Fabric Bangle-Wear your art on your sleeve

You've got a dress full of memories; its never let you down and the fabric is to die for. But now its got a wine stain that won't come out. Or it doesn't fit.Or you realise its now too dated and no longer compliments you. Read on for a bit of thrifty fresh-cycling inspiration...


With the gorgeous fabric saved from my mum's favourite coat, [see my last post], l also made a Scottish themed bangle.It feels quite Vivienne Westwood. To my surprise, it goes with everything.[Which is more than could be said of the coat, tee hee!] 
 You can try making one for yourself- just sew material around your old bangle, with the join on the inside, or outside if you think your old jewels will conceal the stitching. If you like things neat, glue or stitch grosgrain ribbon on the inside to cover the sewing. If you have no time, glue on the fabric rather than stitching. Then choose jewels that won't snag, and stitch them on [before you cut to size, if I were you. The circumference is likely to be longer than you'd think!].
This would be a great way of using up bridesmaid's dresses you'll never wear again or stained evening frocks. They'd look stunning if you sewed on your odd earring collection or tarnished diamante necklaces. 

Looks as good on display as it does on the wrist. The trick is to choose toning colours, and a thread that blends into the material.


Wear your art on your sleeve with pride. There are so many possibilities with fabric bangles, making them could easily become a hobby! For further inspiration, you could check out the other bangles I've made in my Etsy shop, just click the Etsy badge on the right. 


Sunday, 23 December 2012

Sheep Collage Christian Card Craft-psalm 23


Its sometimes amazing what you can come up with from the simplest of things. Old brown envelopes from the DWP, for example......the perfect colour for a little shredded paper sheep collage, which you can then personalise with your own words, or perhaps a verse from Psalm 23-'The Lord is my shepherd, I shall not want....' - good for a poorly friend or to put a smile on someones face.


1 Scrap paper-you will need 3 neutral colours, plus black


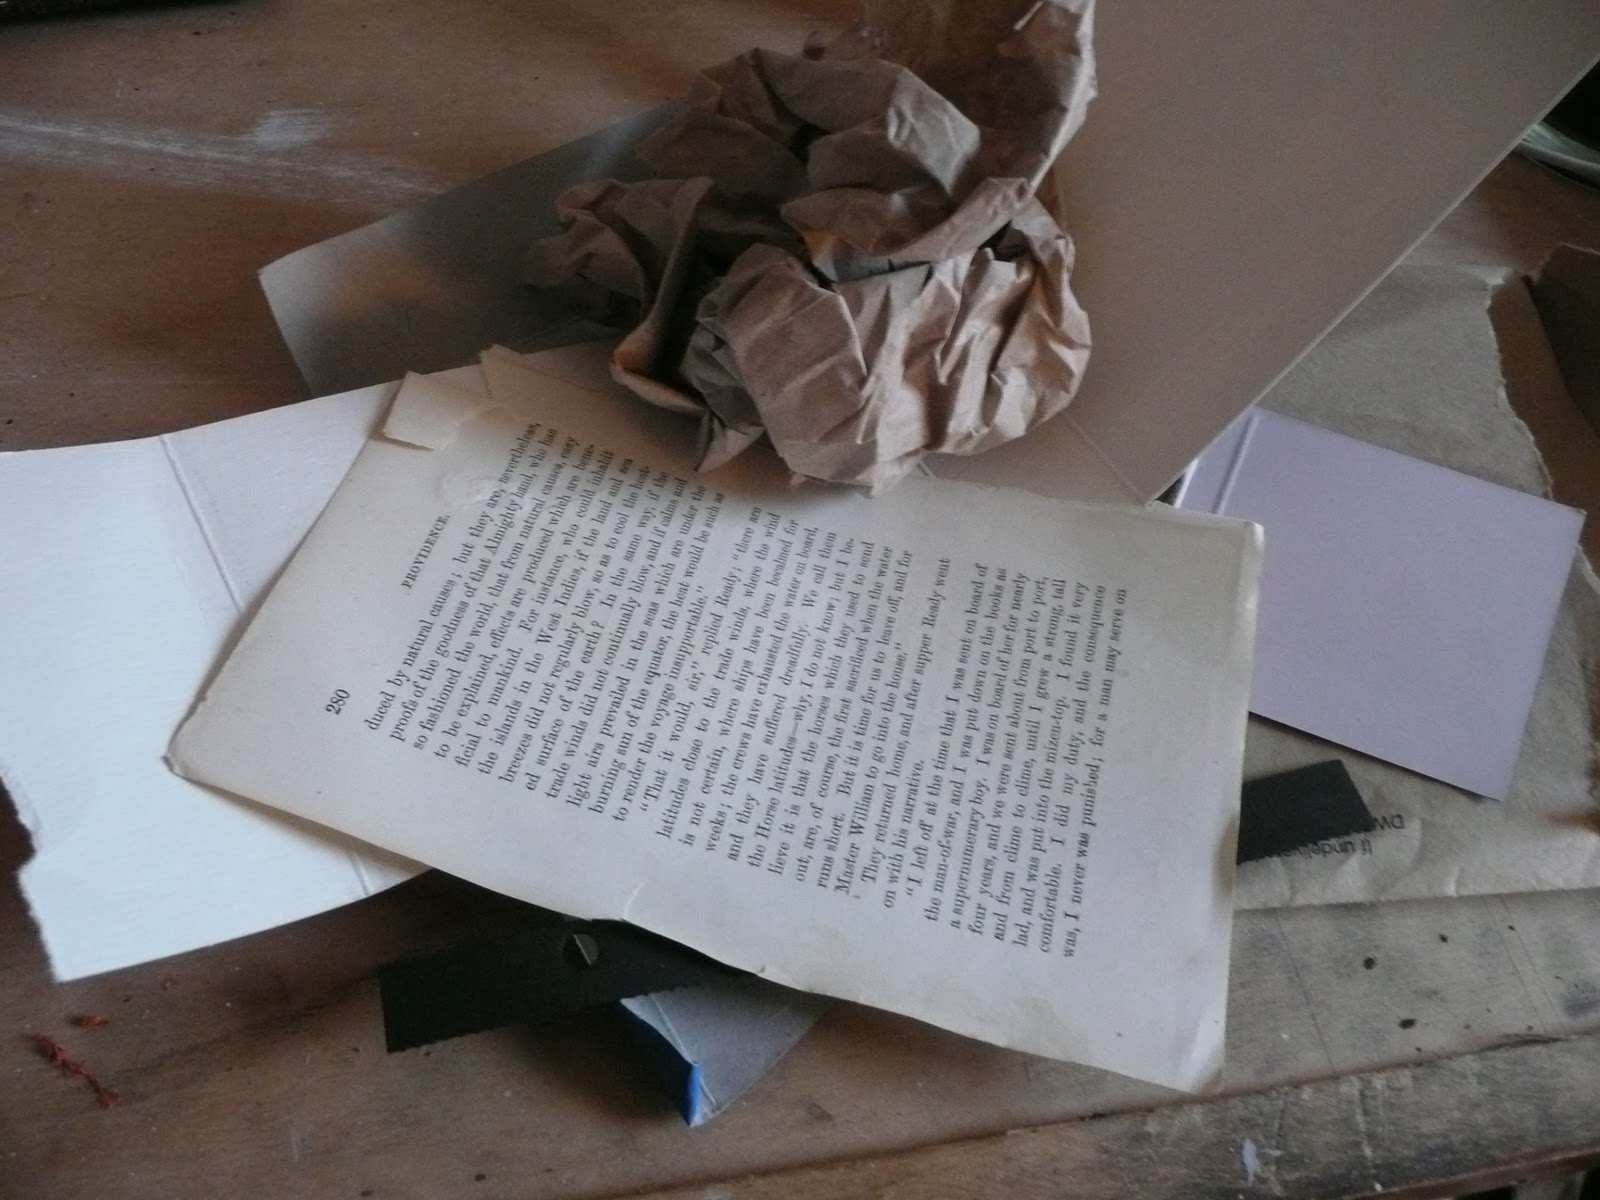
2 Old book leaves are great for the wool

 
3 Tear the envelope into a rough circle, and use it to rip some small pieces for the wool, also use the plain paper from the edge of the page for the lighter wool
                                    

4 Using clear glue, create a shaggy silhouette with the darker paper. Use the lighter colour on top.


5 Your finished ball of fluff-now to make it sheep-like


6 Use your hole-punch to create eyeballs, and black pen for pupils. I chose to tear the head and leg shapes, but scissors would create a nice effect too.


7 Stick it all down on white card [try cereal boxes] and mount on sugar paper or whatever you want. I stuch a few more bits of white over the front legs to make it more realistic.


8 I cut letters from a book index for my words- a stamping kit would be even better


9 For a completely recycled card, I mounted it all on Kraft card.


Saturday, 1 December 2012

Bible verse bottle craft: simples!


My latest little invention: promise bottles. This are very simple to make and are a great gift for anyone in need of a bit of encouragement. Just fill little bottles with antique promise box scrolls, or write out your own favourite Bible verses. Pop in bottle with whatever treasures seem to match the verse; I used twigs, salt. real pearls, sequin stars and gems. White sand and tiny shells would look great, as would buttons and feathers.


Saturday, 24 November 2012

First Impressions

The time has come to print some business cards. Bring on the trusty Dormy Printing Outfit No.3. l discovered this glorious retro kit at a garden sale, and it has come in very handy. Here are some business cards I printed on wood-yes,wood- for my talented friend, York based artisan furniture designer-maker, Nicholas Clarke.


Enough of the shameless promotion, and on to the nitty gritty sweat and tears of printing my own business cards. Exhibit 1: printing kit at the ready


Exhibit 2- rubber letters glued to old box = makeshift rubber stamp


Exhibit 3 - It worked! I like to sign all my creations...


Exhibit 4 - Everything looks better framed!


Thursday, 15 November 2012

Monarch of the Glen Christmas craft


Today, thanks to pressing heavily into the pages of an antique copy of Grimm's Fairy Tales with my Stanley knife, l went into Mass Production for the first time. I swore l never would. Seems so impersonal. I needn't have worried. Each one is different and has its own character-I could not help but vary them a little.


What do you get if you take one envelope from 2007, cranberry red tissue paper, silver chewing gum wrappers, recycled Kraft card, ancient fairy tales, a stag with star spangled antlers, as if tangled in the sky? Probably the most eco-chic cards yet!