I have dusty eyebrows.
My sofa is a different colour.
This evening I took a saw to one of the 'rescued' cardboard tubes. Its more elegant and comfy if you saw whilst lounging on a sofa. Riskier too, perhaps. No matter. I am all intact. And I've got a mini hatbox too. Its more rustic shabby chic than Park Avenue glamour at the moment, so I'm not sure whether it cuts the mustard in terms of luxury packaging, but I've got that charming little sense of achievement glow going on, beneath the dust, so its all good.
 |
| Two sections sawed off, one longer than the other, will make up the main bit of the box -one will go inside the other |
 |
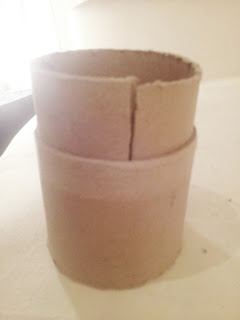
| I cut out a section so the longer tube would fit inside the other section. |
 |
| Like so |
 |
| The plastic lid made a good template for the lid and base [made from cereal boxes so I had to use several layers for strength] |
 |
| I tapped on the base and sawed a thinner bit of tube for the lid [box upside down in this shot] |
 |
| Using PVA glue and brown envelopes, I papier-mached the base to the cyclinder to strengthen it |
 |
| Neatened with a circle cut from an envelope |
 |
| And I repeated the process for the lid... |
 |
| Yes, the edges a rough, but its a box!! |
 |
| A lick of paint and its getting there. Need to glue the inner tube in place, line the box, and generally make it pretty... |
No comments:
Post a Comment